Tag: photo wall
-
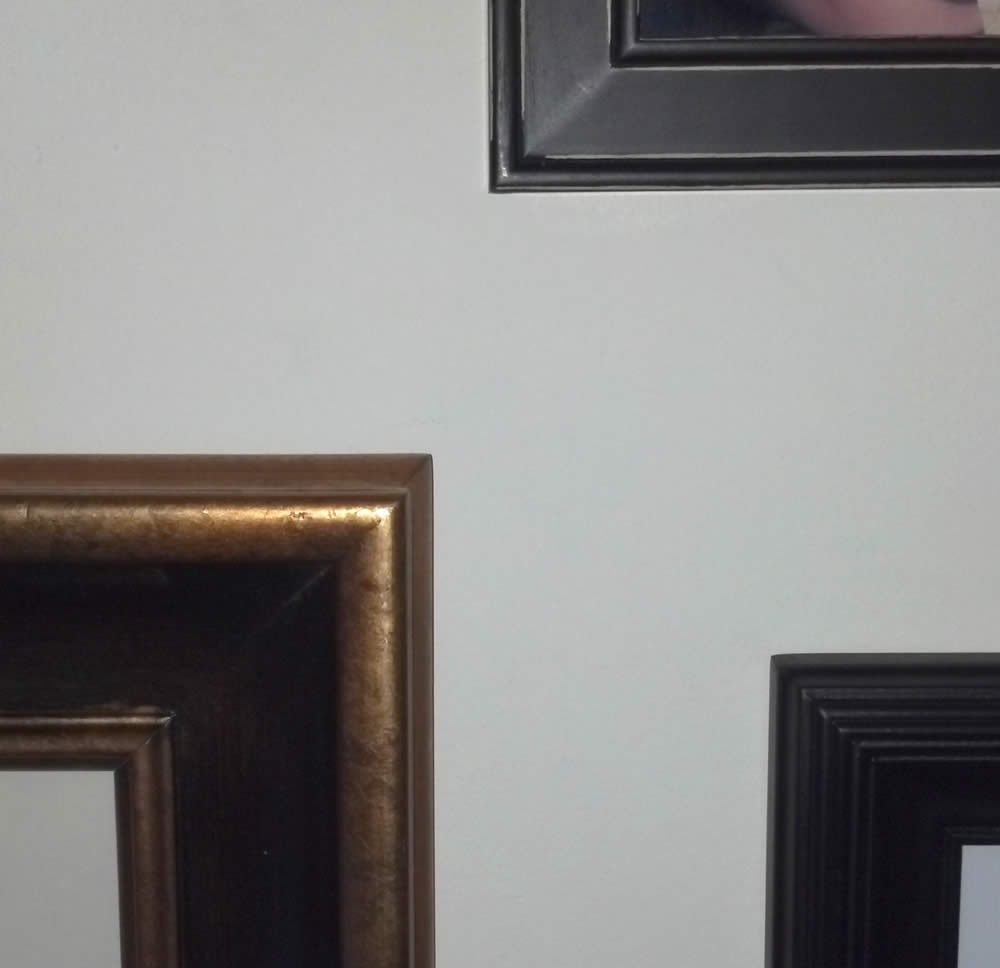
Choosing Picture Frames
Part of the “Making the Family Photo Wall” post series: Frames set the foundation on which the family photo wall would be built, and how well this was done would mean the difference between beauty and beast. It really is good to start from scratch and avoid the temptation of pulling into service the various…
-
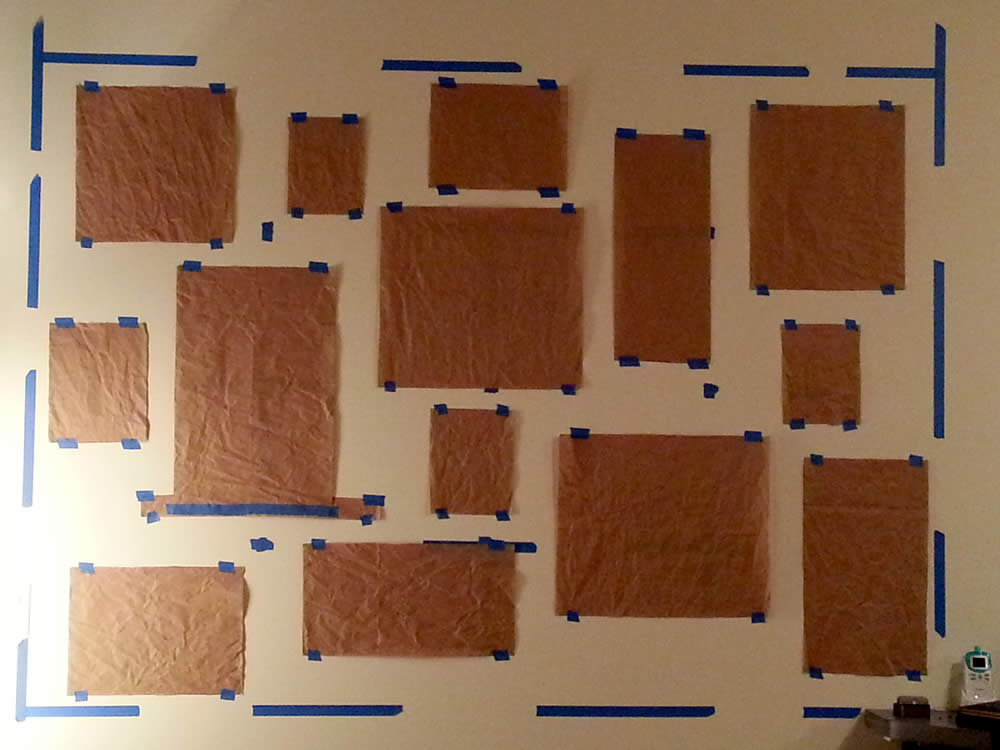
Arranging Picture Frames on the Wall
Part of the “Making the Family Photo Wall” post series: Perhaps the only thing more daunting than hanging picture frames is determining the actual layout, placement, and positioning of the frames. What really made this project far less daunting than it should have been was a tip picked up from Pottery Barn’s “How to Create…
-
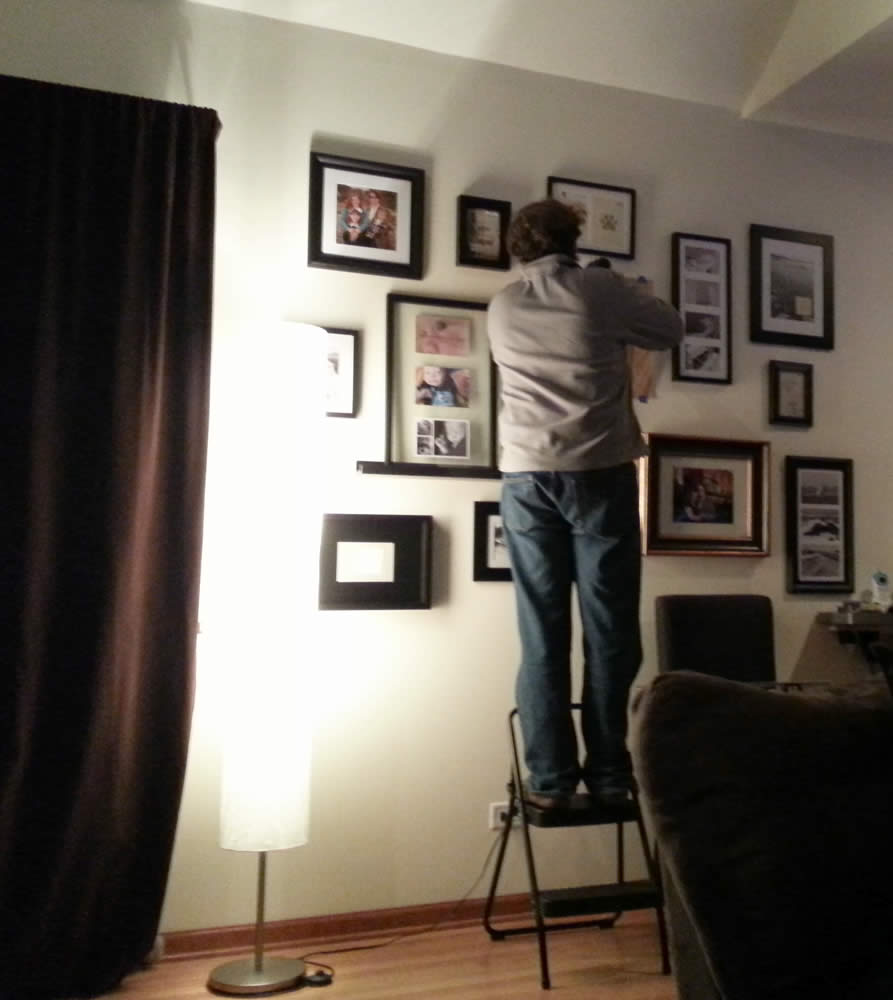
Hanging Picture Frames
Part of the “Making the Family Photo Wall” post series: Hanging a single picture frame or painting can be a nightmare in its own right, let alone hanging 14 in a collective display. There are some tricks however that can really make this relatively painless. Some time ago I learned a great gallery-hanging technique as…
-

Choosing and Arranging Photos
Part of the “Making the Family Photo Wall” post series: Admittedly, Jill handled this aspect, so I’ll just share my thoughts on what I think really made this work. This of course is a critical part that makes all of the other efforts worthwhile. In other words, get this part wrong, and the rest of…
-
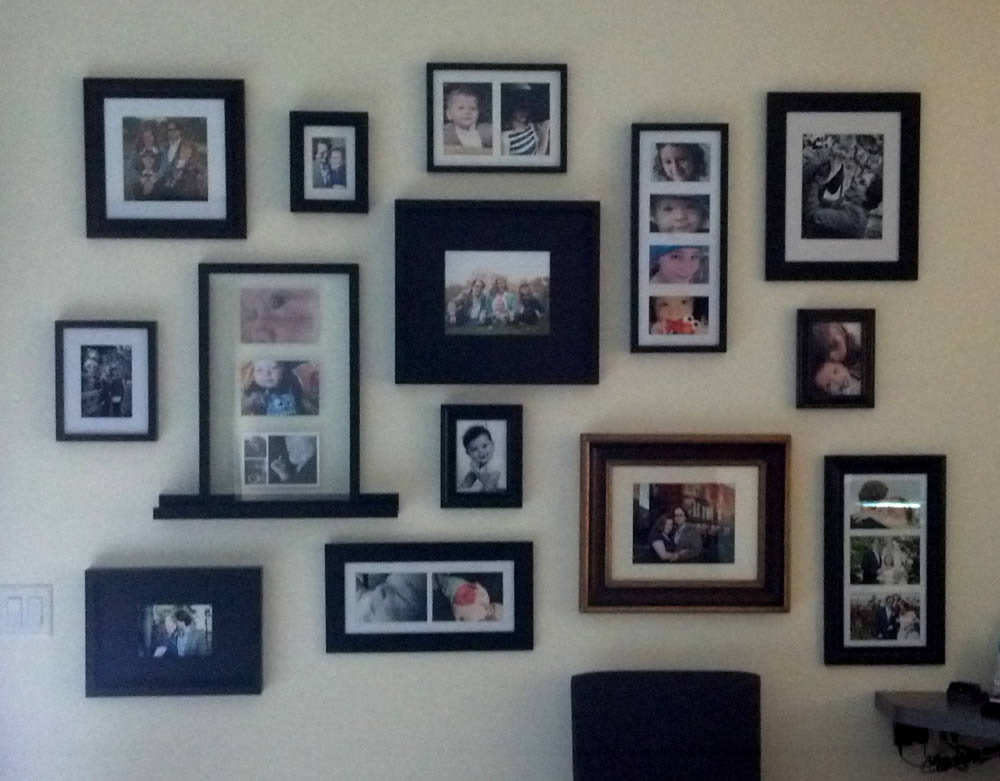
Making the Family Photo Wall
I suppose it is just one of those official writs of passage that comes with married life. You see, at least as a bachelor, photo walls, picture walls…choose your vernacular…are not particularly common. Not that bachelors necessarily abhor photos, but a large collection condensed into a single collective display may be a bit much, off-putting…